
Nothing beats an afternoon filled with good music, catching up with one of your favorite humans, and crafting for their favorite canines. If you are looking for a fun, low-stress DIY project, making dog neckerchiefs (or bandanas) with a friend is the perfect activity.
Not only do you get a great excuse to hang out, but your pups get a stylish new wardrobe update. Here is your complete guide to hosting the ultimate dog neckerchief crafting day.
Before your friend arrives, set up a crafting station with these essentials. You can easily find these at any local craft store or by repurposing old flannels and cotton sheets.
You need:
- Fabric: Stick to lightweight, breathable 100% cotton. Look for fun prints like plaids, florals, or seasonal holiday themes.
- Fabric Shears: Sharp scissors make cutting clean lines much easier.
- A Sewing Machine OR Fabric Glue: You do not need to know how to sew! Fabric glue or iron-on fusible tape works perfectly for a no-sew option.
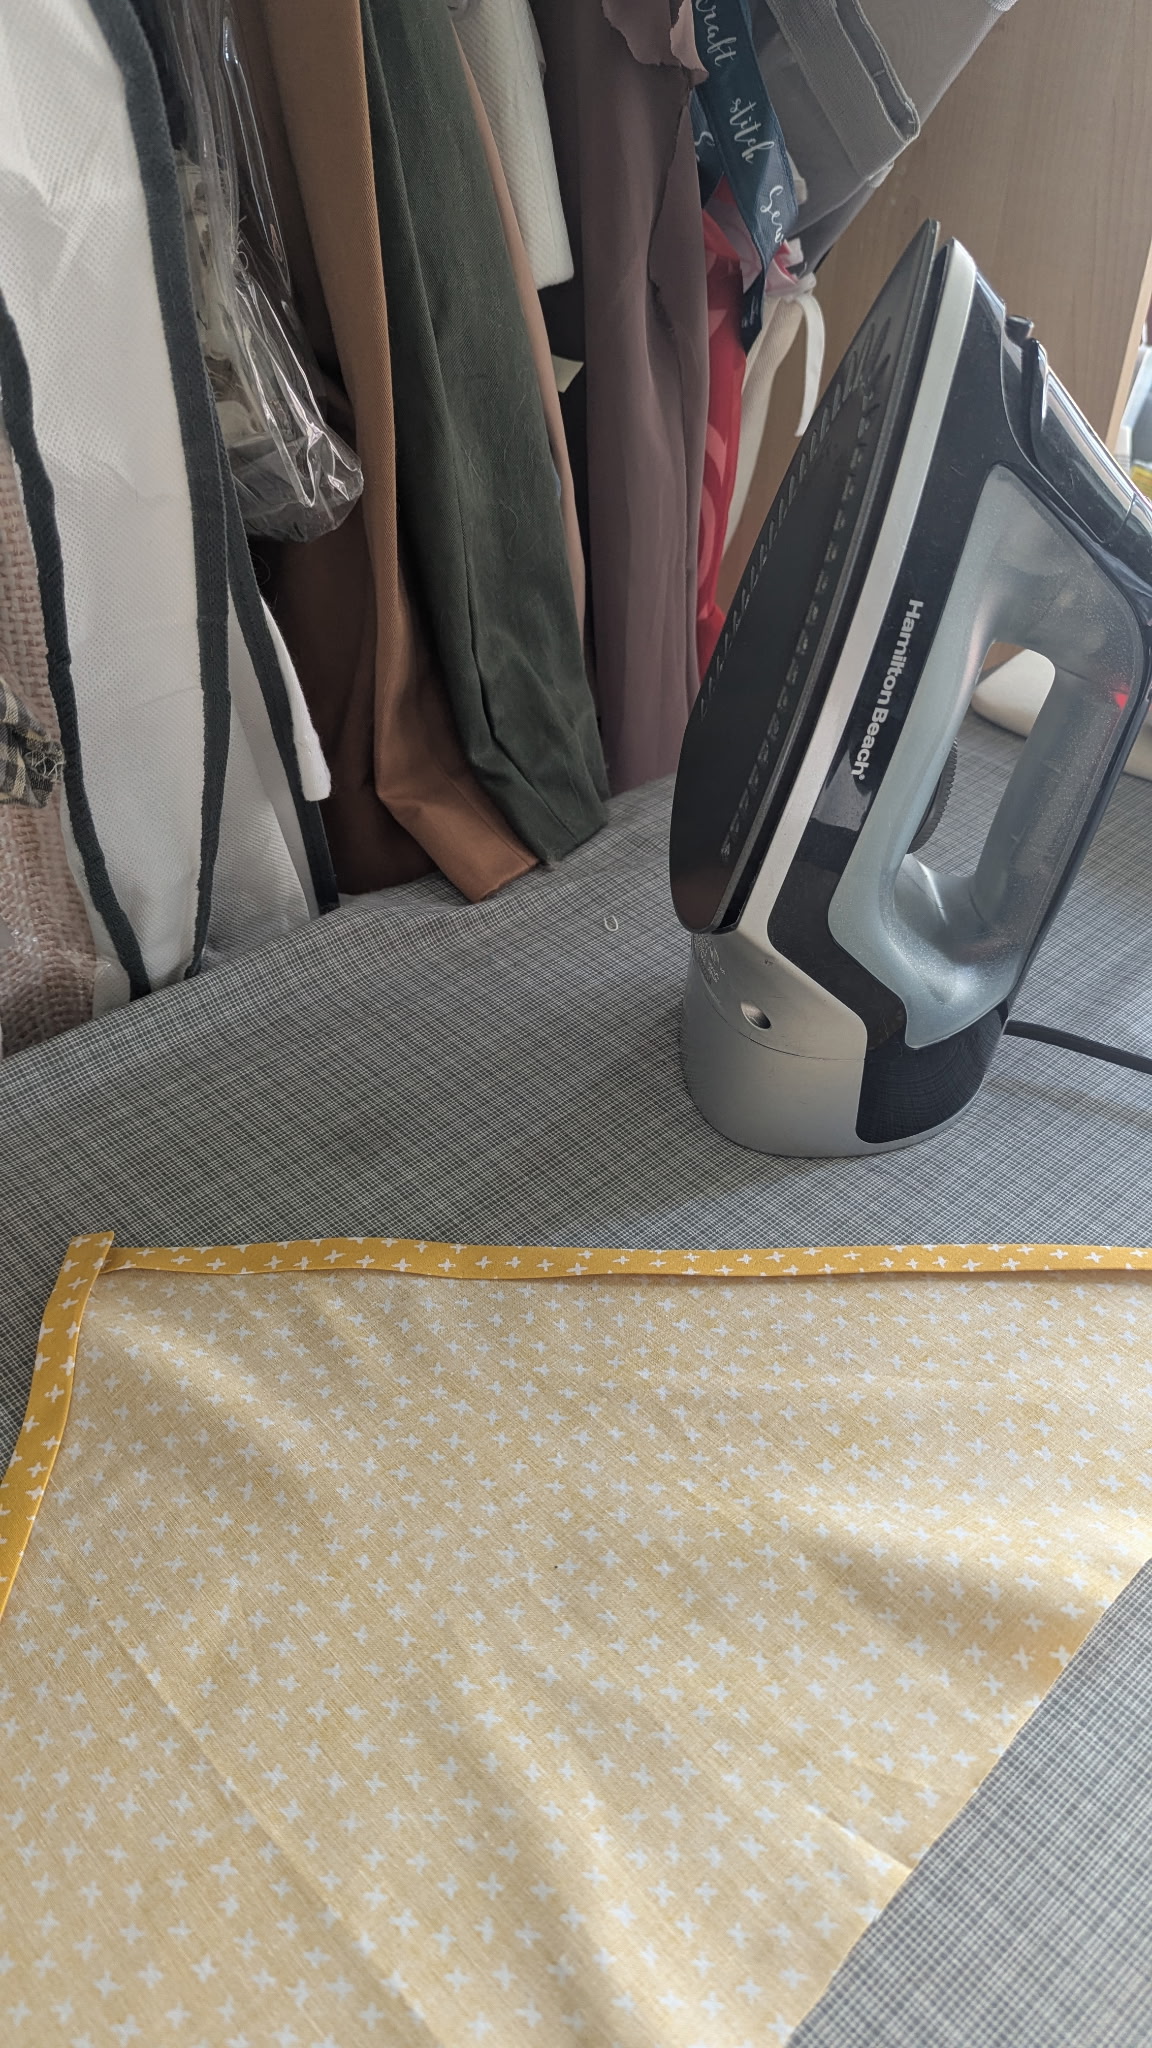
- Iron and Ironing Board: Crucial for getting crisp, professional-looking edges.
- Snacks and Drinks: Essential fuel for any successful crafting session.
📏 Step 1: Measure the Pups
Grab your phone and text your friend to measure their dog’s neck before they head over.
- Use a soft measuring tape around the thickest part of the dog’s neck.
- Add 8 to 10 inches to that number. This ensures you have plenty of extra fabric to tie a comfortable knot.
- Example: If a golden retriever’s neck is 16 inches, your top triangle edge should be about 25 inches long.
✂️ Step 2: Cut the Fabric
The easiest style to make is the classic over-the-collar triangle.
- Fold your fabric into a square.
- Fold that square diagonally to create a triangle.
- Cut along the fold so you have two identical triangle pieces.
- Trim the longest side of the triangle to match your dog’s total neck measurement (including those extra inches for tying).
🧵 Step 3: Assembly
This is where the teamwork comes in. One person can iron while the other glues or sews!
Option: The Sewing Method (Durable & Washable)
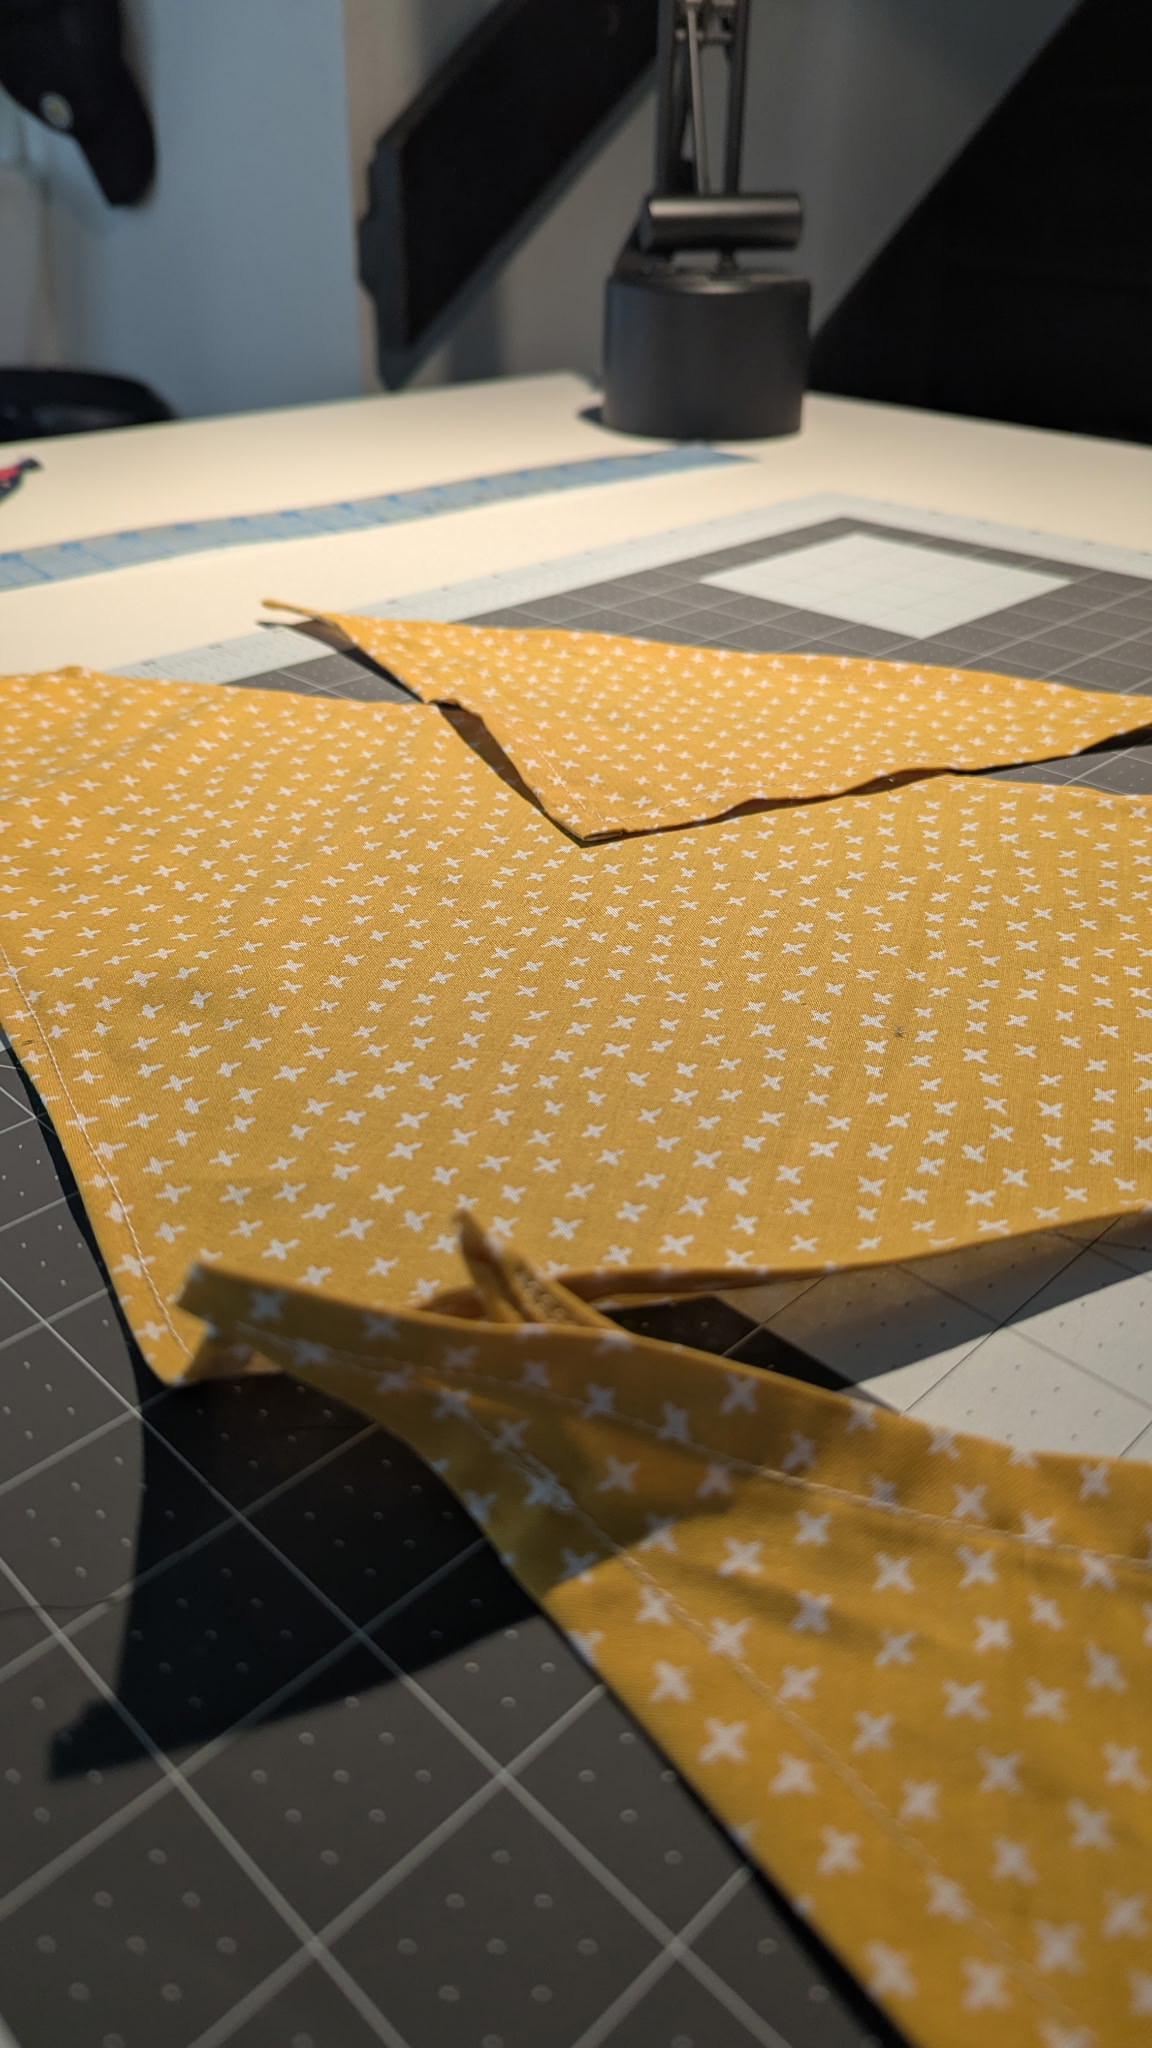
- Cut out triangular piece leaving 1/2” Seam allowances. You can cut off excess fabric at the corner edges so they don’t get too pointy.
- Head to your ironing station and fold over 1/4”, iron it down, and then fold another 1/4” and iron that down to create a hem for stitching.
- At the corners, roll the edges a little tighter so the triangle points are not bulky.
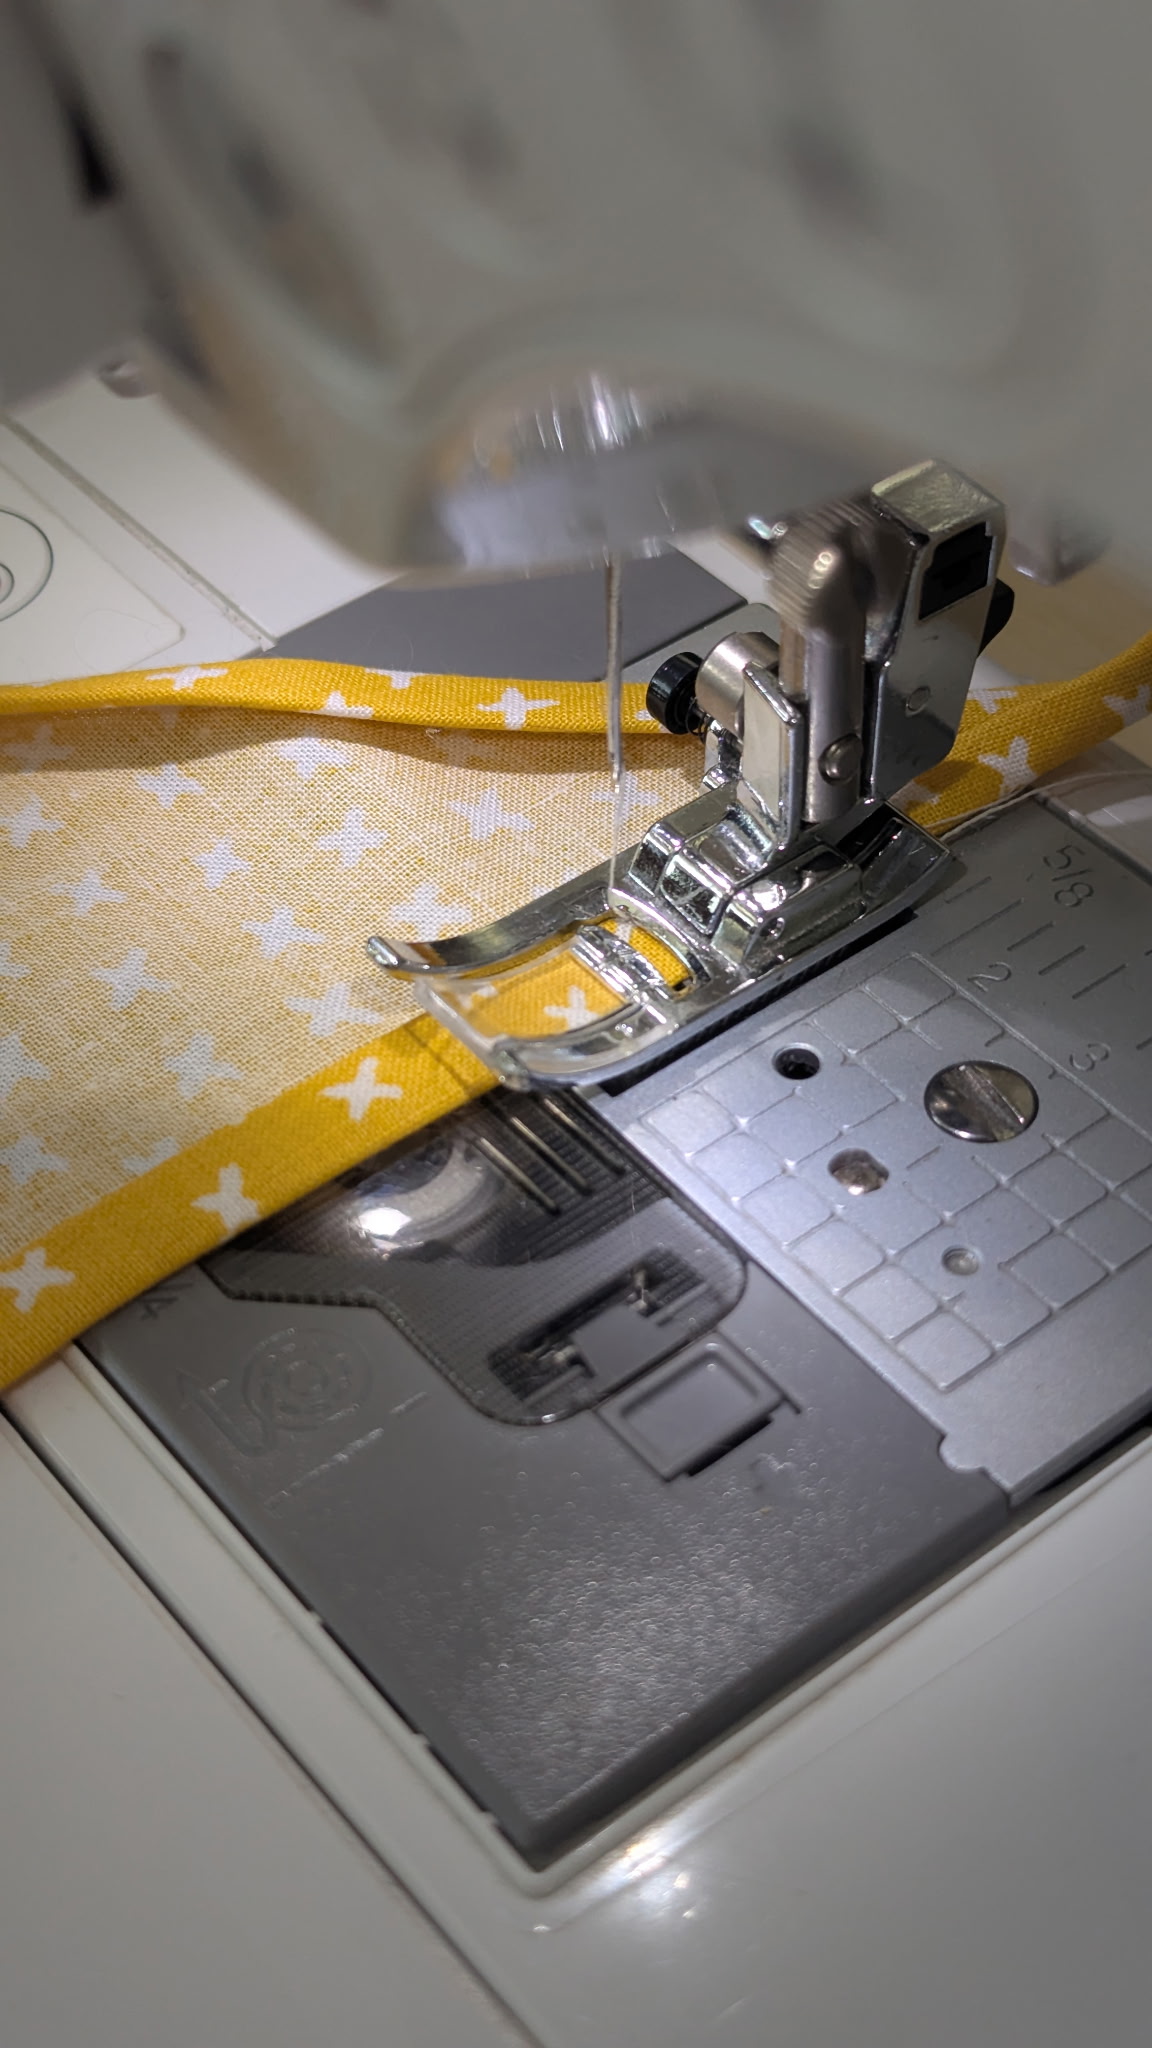
- Sew straight stitch all the way around the triangle, backstitching at the beginning and end.
- Optional to press your finished piece with the stitching.
🎨 Step 4: The Best Part—Personalizing!
Once the base neckerchief is finished, grab some extra embellishments to make them truly unique. You and your friend can experiment with:
- Iron-on Vinyl: Use a Cricut machine or pre-made patches to add the dogs’ names.
- Fringe or Tassels: Sew a fun trim along the bottom V-shape for a boho look.
- Hand or Machine Embroidery: Add the dogs’ names for a personal touch.
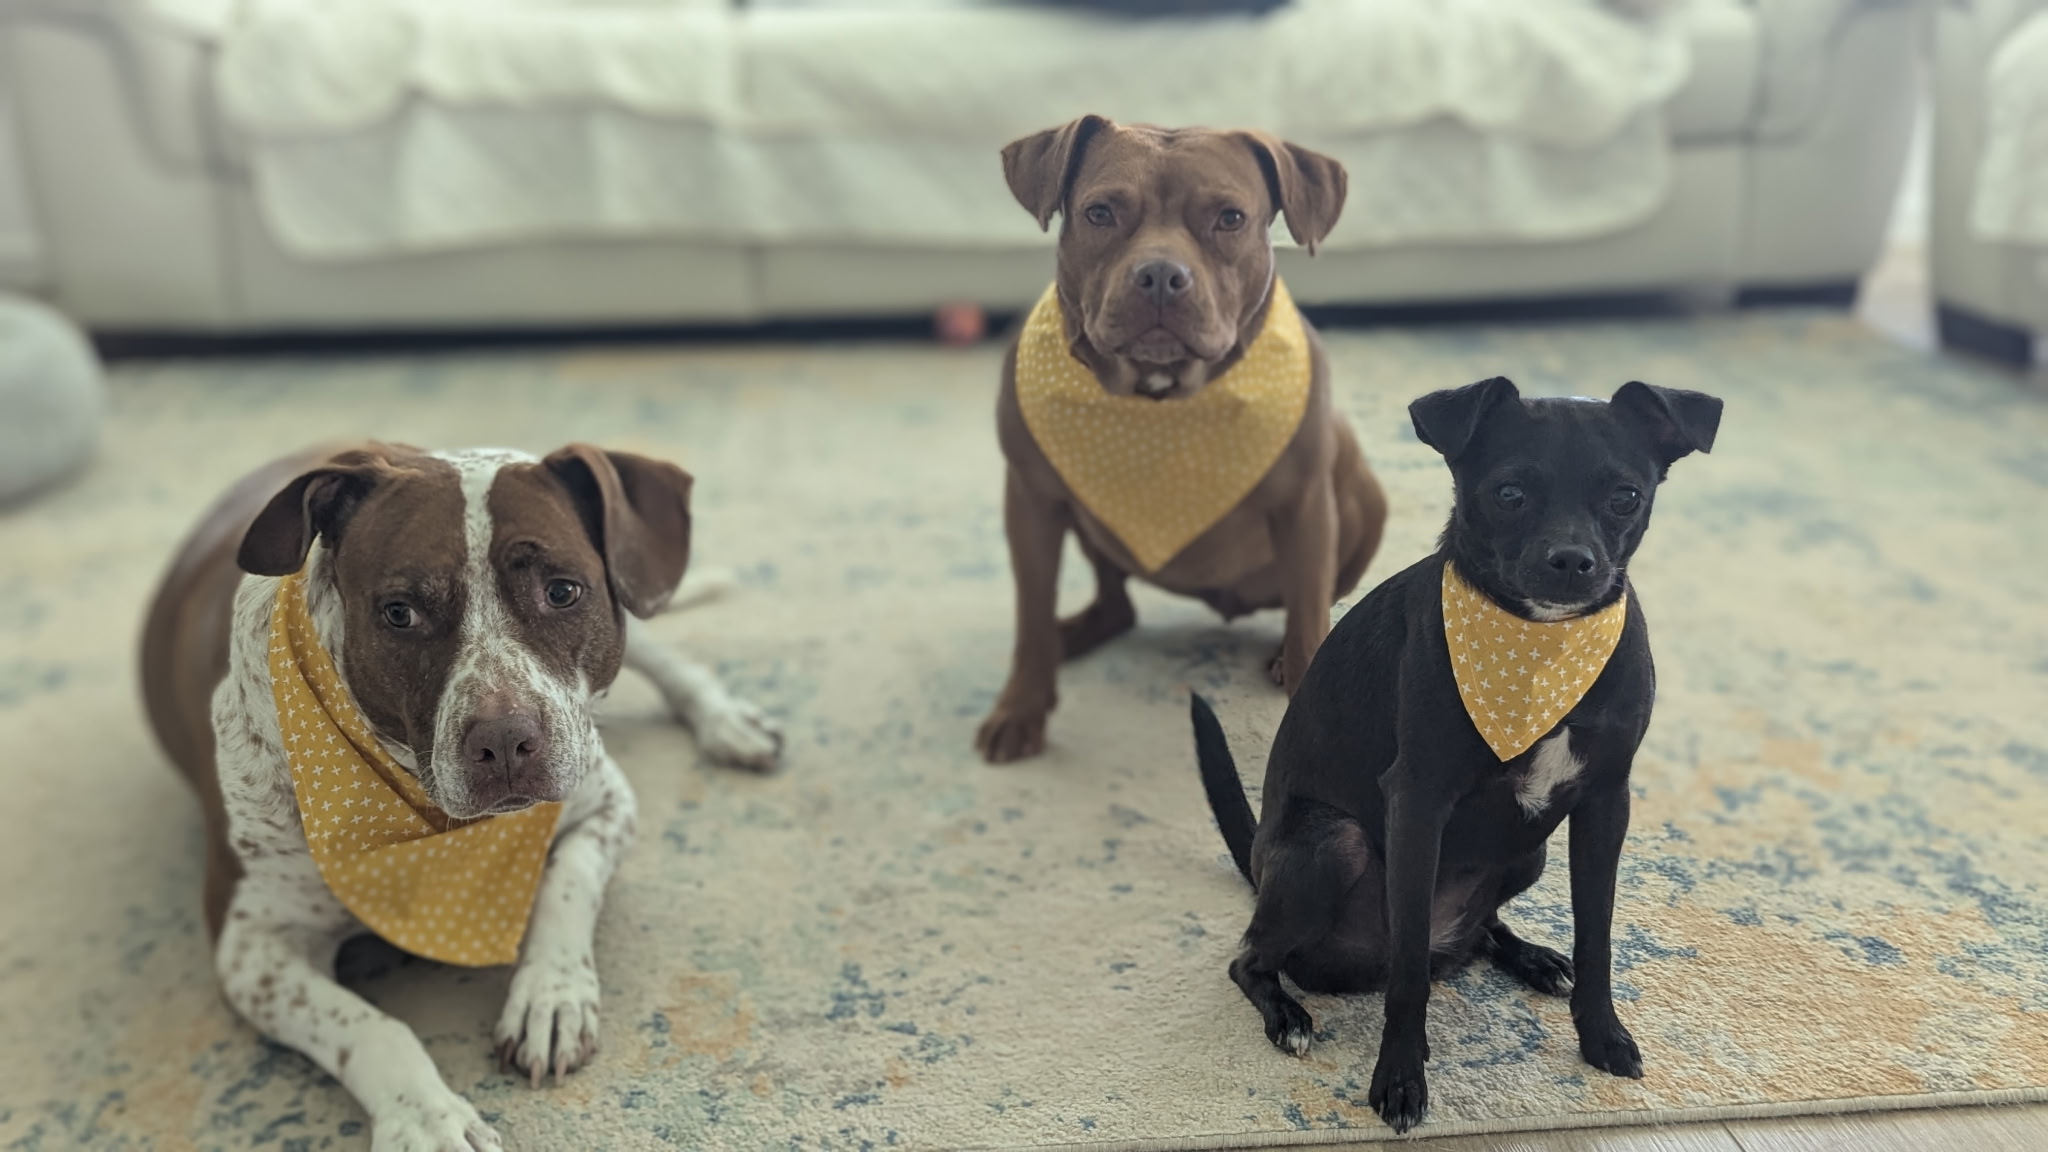
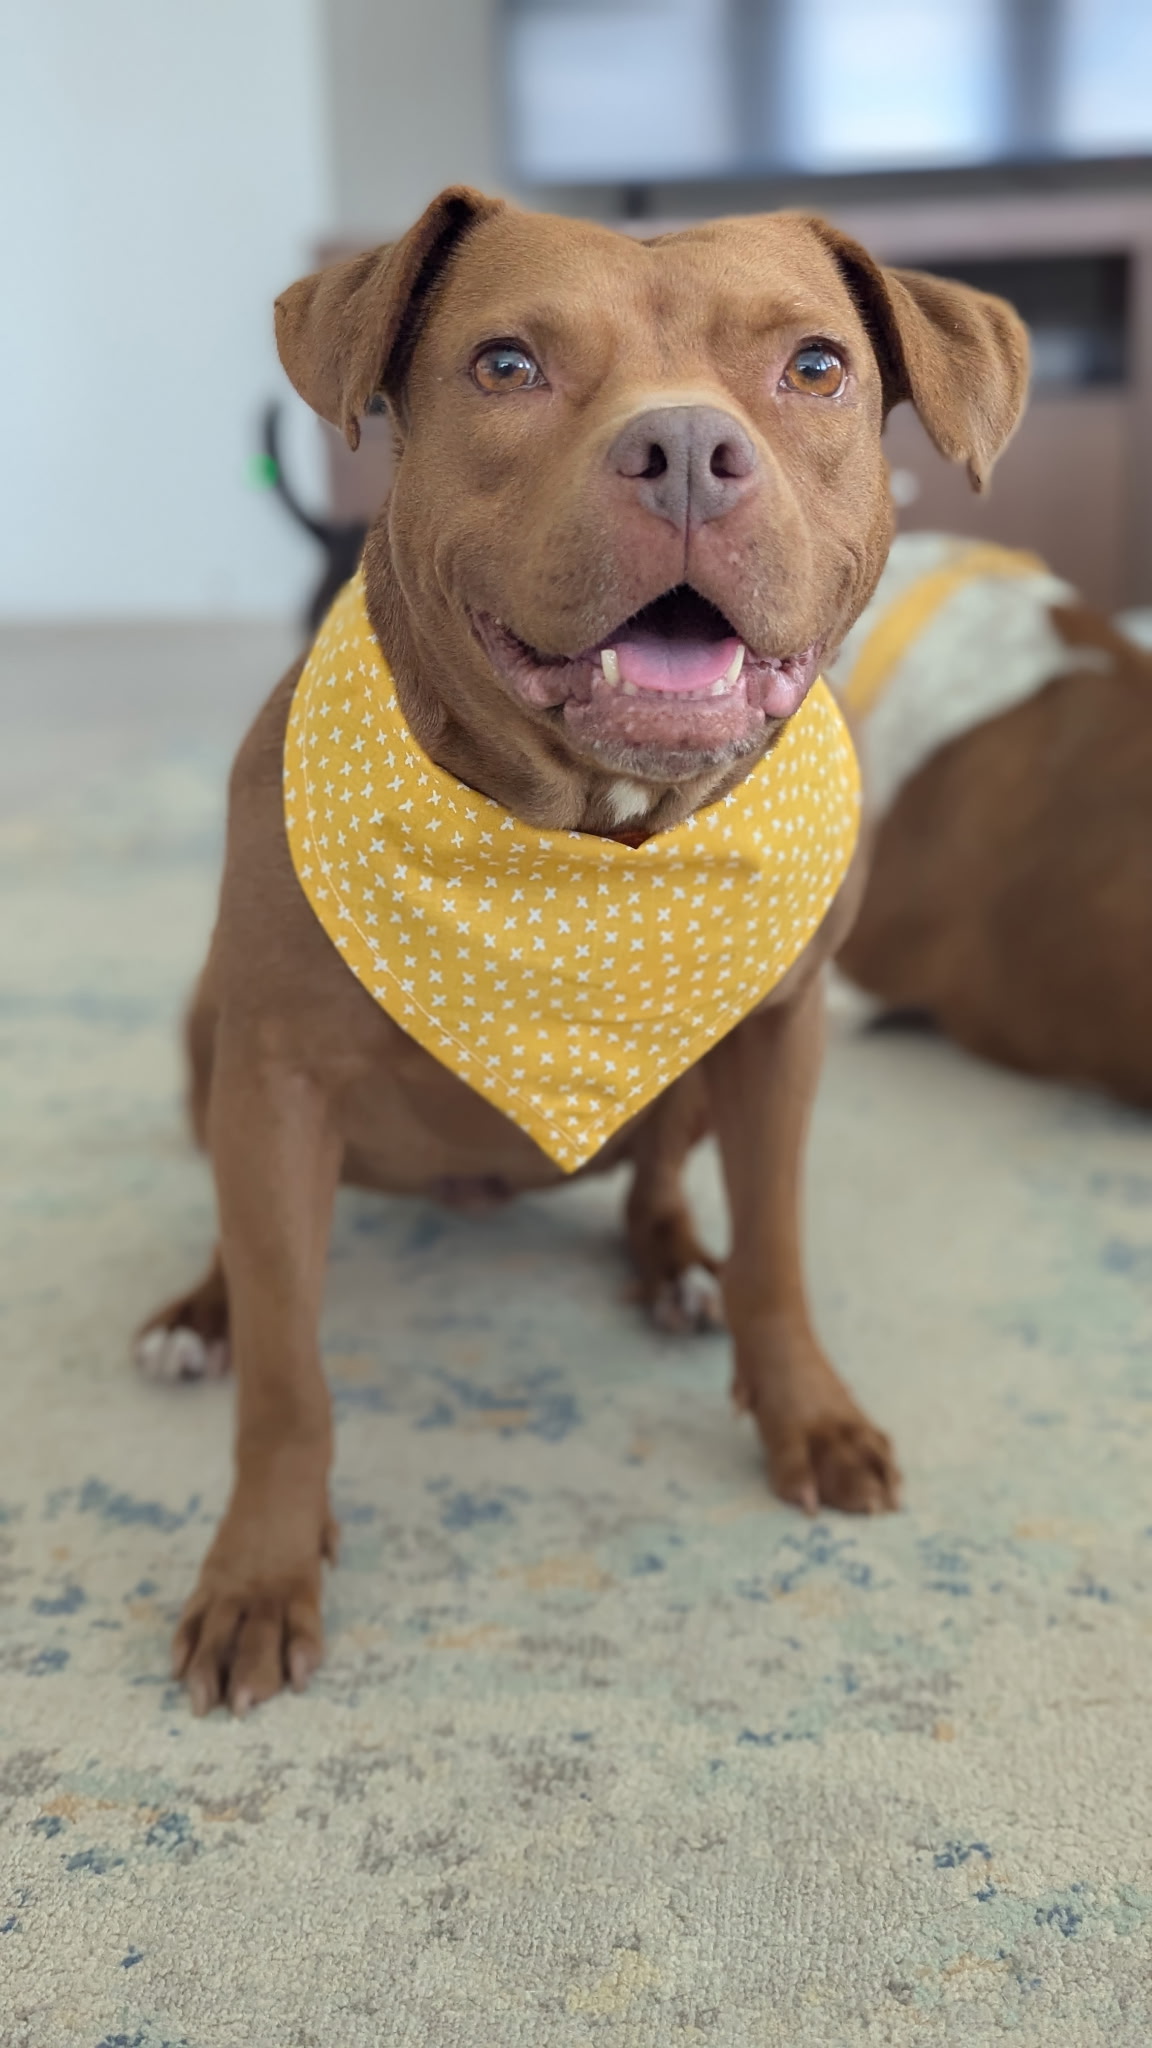
📸 The Grand Finale: The Puppy Photoshoot
You cannot wrap up a craft day without showing off your hard work. Put the new neckerchiefs on your pups, grab some high-value treats to keep their attention, and head outside for a photoshoot. It is the perfect way to capture the memories of a day spent creating something special with a friend.


Leave a comment